Four Low-Cost STEAM Experiments for Your Class
Balloon cars, water rockets, a cardboard robotic arm and a sundial: four hands-on activities, the method behind them and how to add coding when your class has no robots.
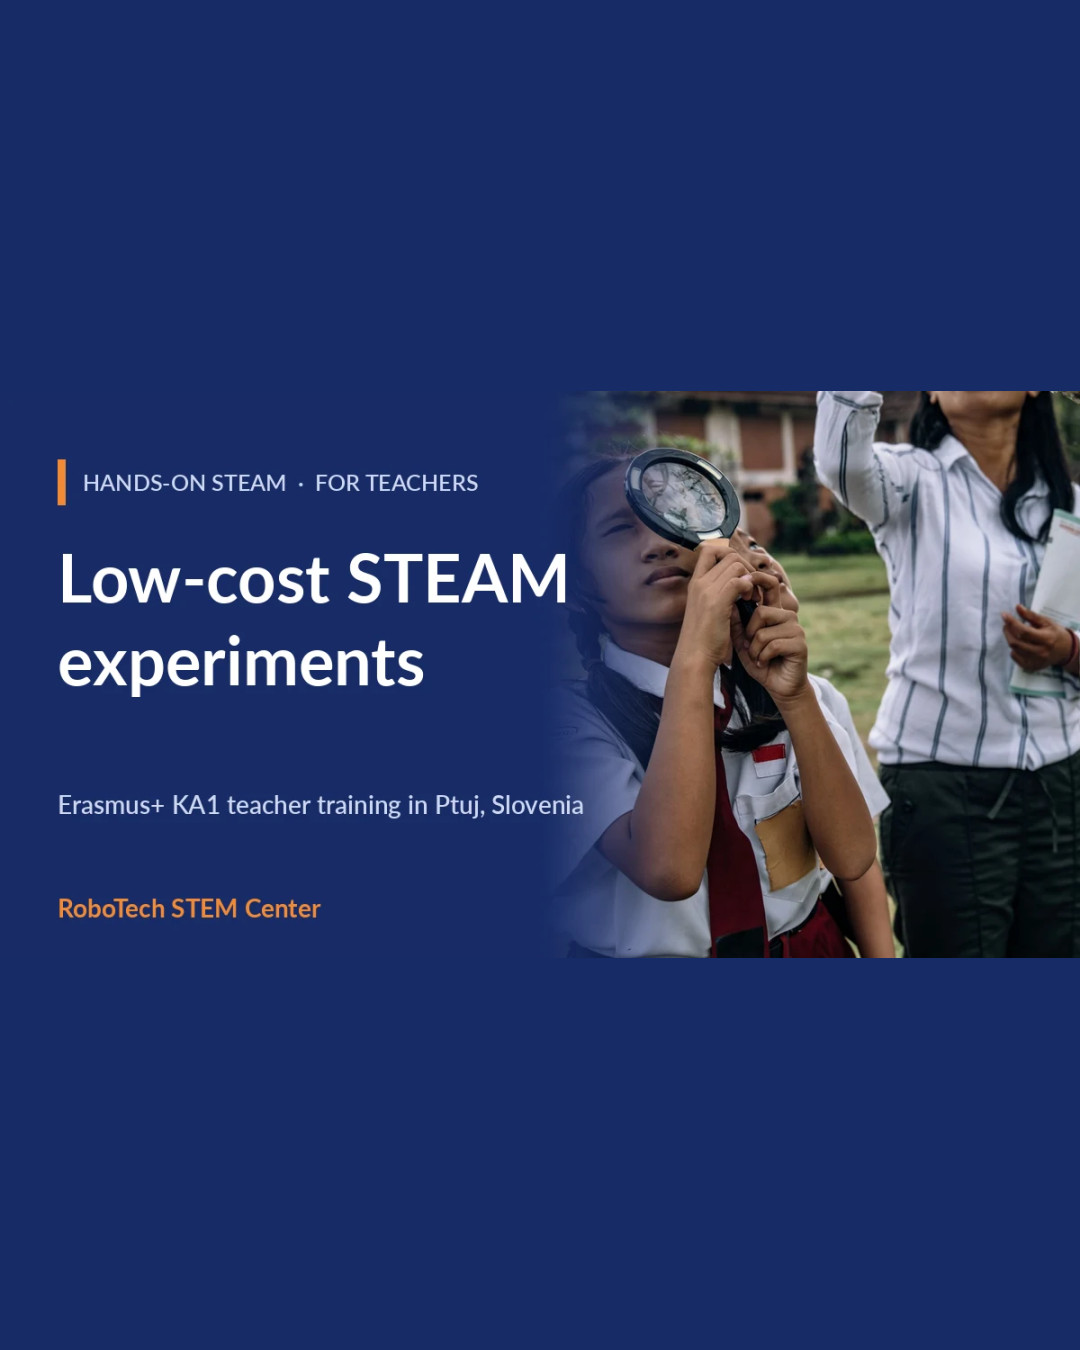
You do not need a laboratory, a budget or a robot kit to run a good STEAM lesson. Some of the most memorable lessons we see teachers deliver use balloons, plastic bottles, cardboard and a patch of grass. What they share is a method: students make something, test it, measure what happened, and improve it.
Below are four low-cost activities from our Erasmus+ course Hands-on STEAM in the Classroom, plus a way to teach coding when your class has computers but no robots. They suit teachers of roughly ages 8 to 14, and each one links directly to maths, science, technology or art objectives.
First, the method behind every activity
Every activity in the course follows one cycle: ask, imagine, plan, build, test, improve, reflect. It is the engineering design process, and it is also inquiry-based learning in practice. The important part is the loop at the end. A first attempt that does not work is not a failed lesson. It is the lesson.
Teach the cycle once, name it, put it on the wall, and you can reuse it for any topic for the rest of the year.
1. Balloon cars: forces and fair tests
Give teams a balloon, a bottle or a piece of card, straws, skewers and wheels (bottle caps work). The goal is simple: build a car that travels as far as possible on the power of the balloon.
The real lesson is the rule that teams may change only one variable at a time: the size of the balloon, the diameter of the straw, the weight of the car. Students measure each run, record the results in a table and compare. In one 45-minute lesson you have covered forces, friction, measurement, data handling and the idea of a fair test.
Tip: mark a metre scale on the floor with masking tape before the lesson starts, so measuring takes seconds, not minutes.
2. Water rockets: do them outdoors, and plan the safety
Water rockets, made from a plastic bottle partly filled with water and pressurised with a pump, are spectacular and teach a lot about action and reaction, pressure and the effect of changing the water volume. They are also the activity that most needs a plan.
- Run them outdoors, in an open area, with a clear launch zone and a clear "everyone behind this line" rule.
- Give a short safety briefing before anybody touches a bottle, and repeat it at every launch round.
- Launch one team at a time, with one adult controlling the countdown.
- Have an indoor alternative ready for bad weather.
In our course we spend an afternoon on this, including how to organise a safe launch with a whole class, because the logistics matter as much as the science.
3. The cardboard robotic arm: design, iterate, explain
A robotic arm made from cardboard, string, straws and syringes or plastic bags of water is a classic for a reason. Students must think about levers and joints, test their design against a task (pick up a cup, move a ball) and then improve it. It works with different ages: younger students can build and test, older students can describe the mechanism, draw it to scale and compare designs using measurements.
It is also a good bridge into art and design. The arm has to look as good as it works.
4. A sundial: measurement, geometry and time
A sundial takes almost no materials and connects mathematics, astronomy and geography in one outdoor activity. Students mark the shadow of a stick at regular intervals, measure it, compare it between different times of day, and ask why the shadow moves the way it does.
No robots? Use virtual robotics
Many classrooms have computers or tablets but no robot kits. VEXCode VR runs in the browser, with no hardware, and lets students program a virtual robot through block-based challenges: navigation, sensors and simple decisions. It is a practical way to introduce coding and computational thinking, and it combines well with the hands-on experiments above. A class can build a balloon car in the morning and program a virtual robot to cover the same distance in the afternoon.
Take learning outdoors
Outdoor learning is more than a break from the classroom. In our course we spend a day observing biodiversity in a local habitat at Ptuj Lake, within walking distance of the centre, and use digital tools to document findings. Teachers practise how to plan a safe outdoor lesson, assess the risks and keep every student involved.
Assess practical work fairly
The question we hear most often is how to grade a practical task. Our answer is rubrics and feedback: describe two or three criteria (does it work, can the student explain why, did they improve it), and give feedback during the activity rather than only at the end. We also look at how to adapt every activity for different ages, abilities and special educational needs.
Learn it by doing it
The five-day course in Ptuj is built the way we recommend you teach: roughly two thirds practical work in pairs and small international groups, one third short input, demonstration and discussion. All building and experiment materials are included, VEXCode VR is free, and you leave with worksheets, example lessons, assessment rubrics and a concrete implementation plan for your own school.
Bring clothes for changing weather and sturdy shoes: part of the week takes place outdoors, with an indoor alternative at the centre if the weather does not cooperate.